7.Underwear sewing process – sewing elastic bands
Title: The Art of Bra Sewing: Elastic Bands and Cups
Hello everyone, I’m Lia. Today, let’s delve into the intricate world of bra sewing, focusing on the techniques for attaching elastic bands and sewing the cups. This process is crucial for enhancing the comfort, fit, and aesthetic appeal of bras.
Table of Contents
Sewing the Lower Elastic Band
Technique and Tips:
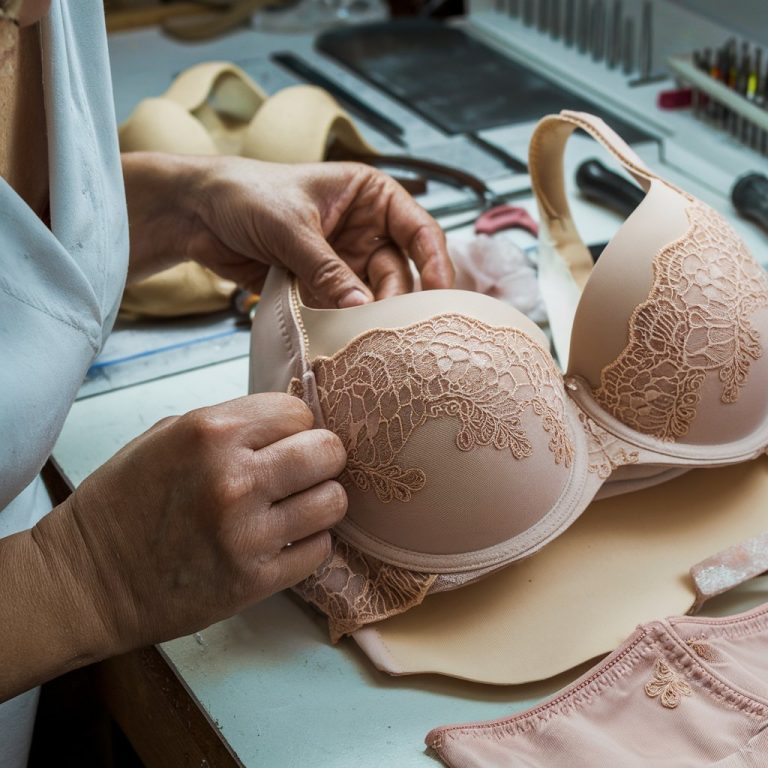
- Attaching the Elastic Band: The lower elastic band is sewn to the hem and the lower circumference of the cup. This band is adjustable, tight, and comes in various widths, providing good support. It’s essential to use a suitable sewing machine, often referred to as a “Xiaoren” in the industry.
- Attention to Detail: Pay close attention to the front and back of the elastic band. Adjust the machine settings to ensure the stitches are even and consistent. The back edge should be indented by 5mm, and the elastic band must be flat, uniform, and without any protrusions.
- Pressing the Line: When pressing the line, ensure the mouth is even, the stitches are not exposed, and there’s no thickening of the line. The stitch should be beautiful and uniform. Also, ensure the elastic band has no color difference and the size is accurate.
Sewing the Cups
Cup Sewing Techniques:
- Attaching Both Cups: Sew both cups to the bottom of the slices. The process can be divided into two methods: one where the bundle is sewn directly, and another where it is reversed. Using a computer single-needle machine simplifies the process, as it can automatically break the thread and reverse the needle, leaving no loose ends after sewing.
- Quality Control: Ensure that the height of the two cups is the same, the size of the lower chop is consistent, and the chicken heart (center front) is not skewed. There should be no wrinkles on the front and back of the cups. The heart position should be reinforced to prevent the line from opening.
- Sub-mouth Control: Use a magnet or tube to control the size of the sub-mouth, ensuring the stitch is normal and smooth. The sub-mouth should be 5mm, and the size of the chicken heart should be accurate.
Sewing the Upper Elastic Band
Upper Band Sewing:
- Attaching the Upper Elastic Band: Sew the upper elastic band to the bend, adjusting it to be tighter than the top. The rear should be indented by 5mm compared to the mouth, and the size should be uniform.
- Strength and Control: Sew with precision, controlling the strength. When pressing the line, ensure the bend of the bowl side clamp is not empty, and the lining of the edge is not wrinkled. Adjust the stitches to ensure the continuous line is pulled without exposing or thickening the line. The rear ratio should be evenly reduced compared to the side, and the size should be accurate.
The art of sewing elastic bands and cups in bras requires precision and meticulous attention to detail. Each step contributes to the overall comfort, fit, and aesthetic appeal of the bra. By mastering these techniques, we can create high-quality products that enhance both functionality and style.
Thank you for joining me on this journey through the craftsmanship of bra making. Stay tuned for more insights into the world of fashion and design.
